let's create
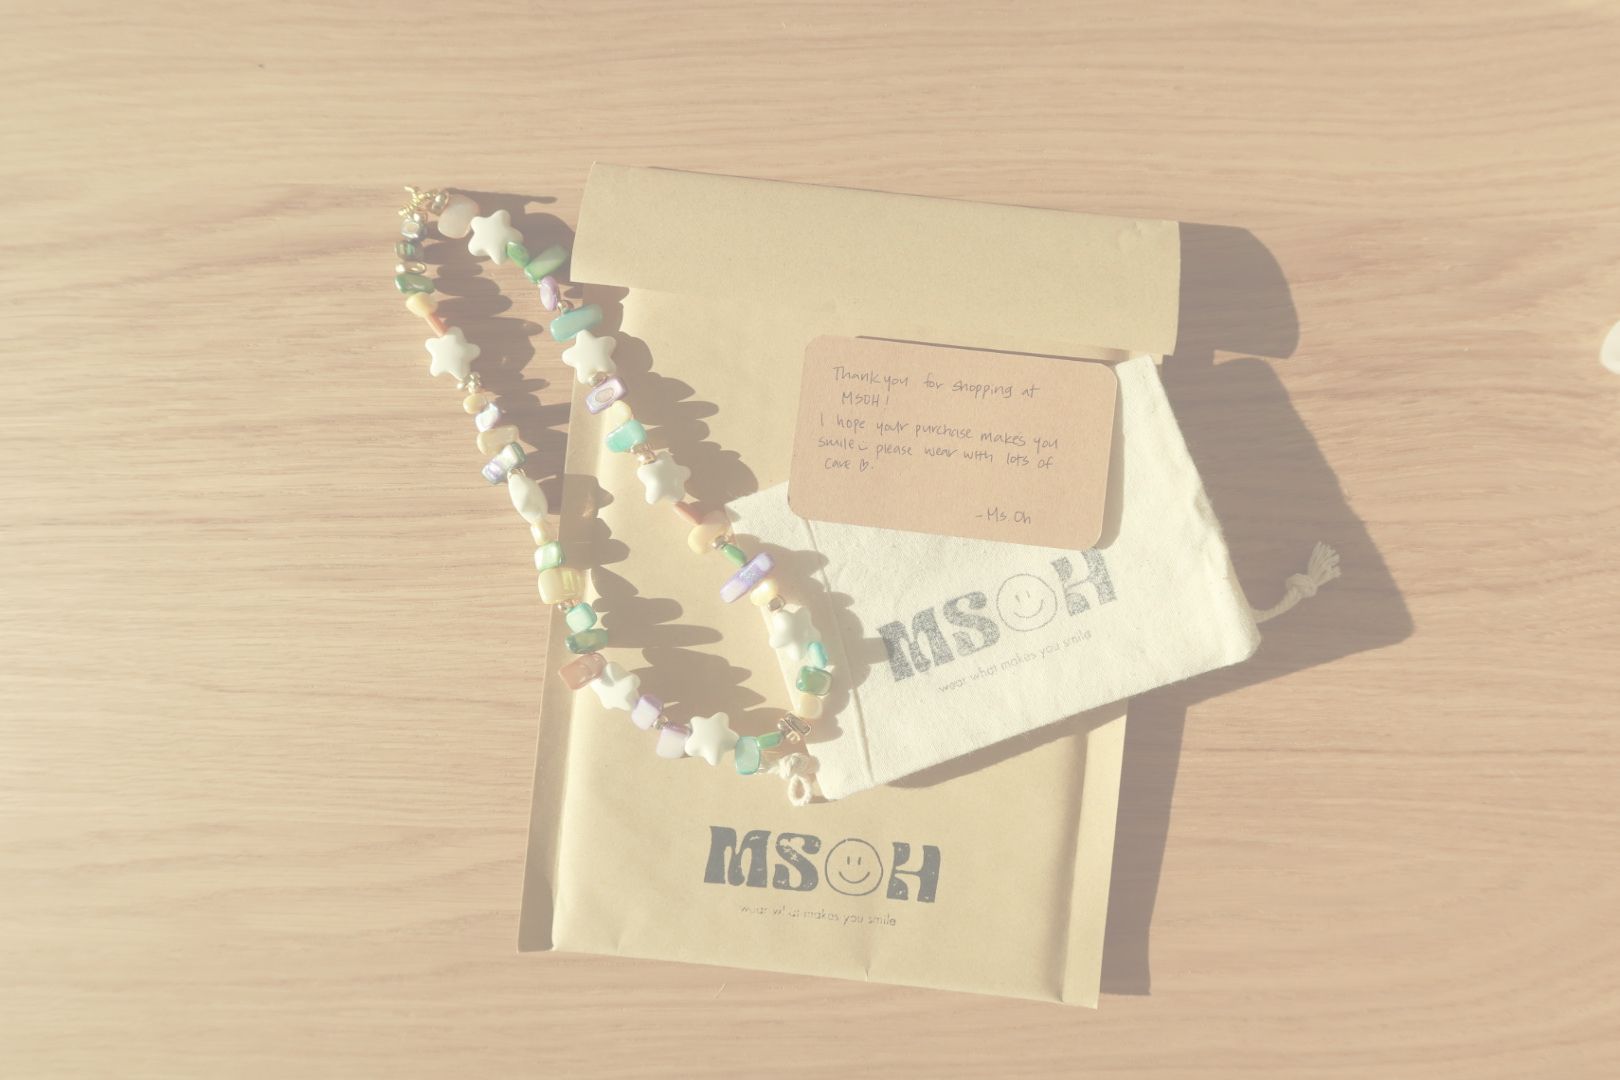
welcome to the blog i created! in this blog i'm going to show how i design and create accessories for my small business. scroll down to read my blog about the process i go through from designing the pieces to creation and then to selling my hand-made accessories.

getting inspired
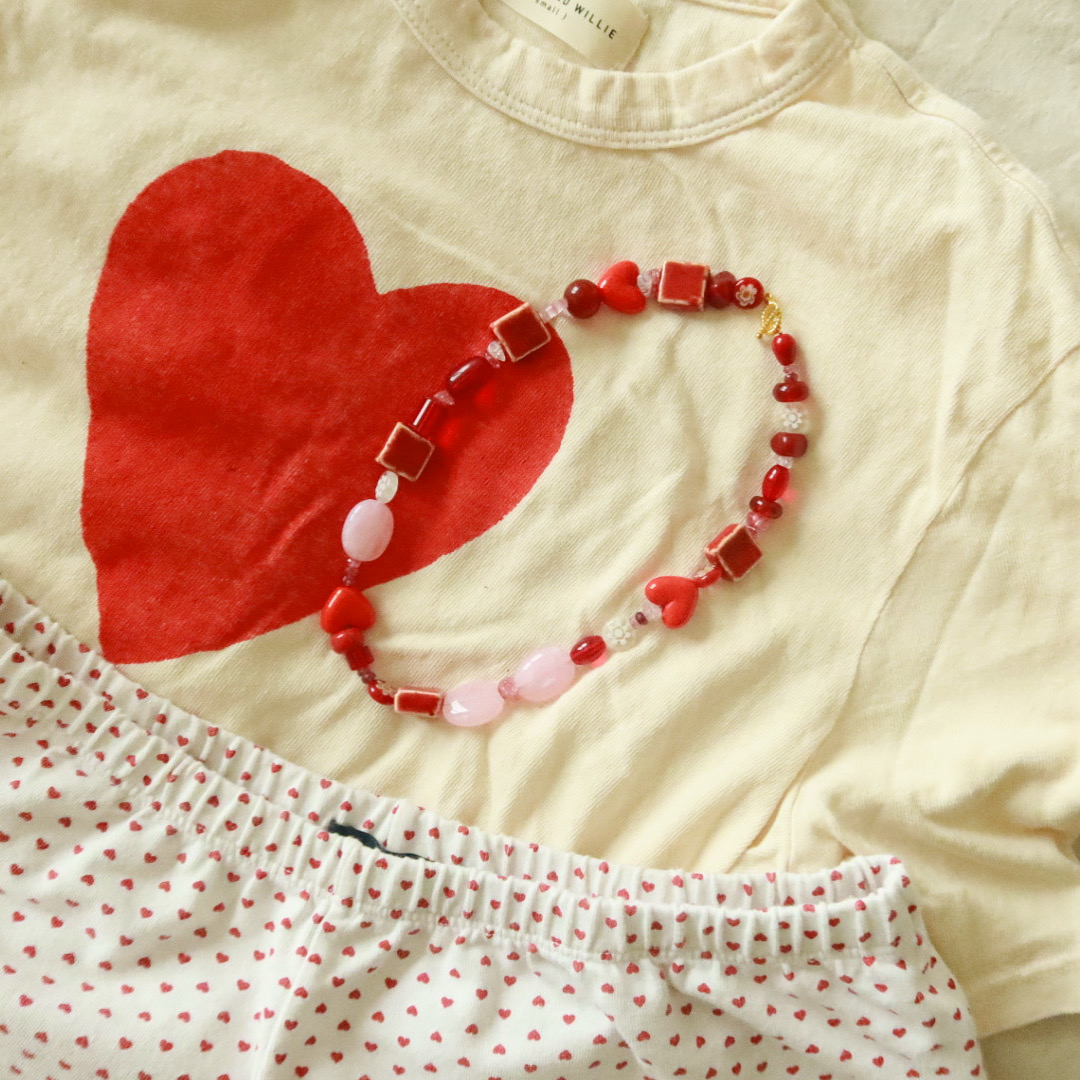
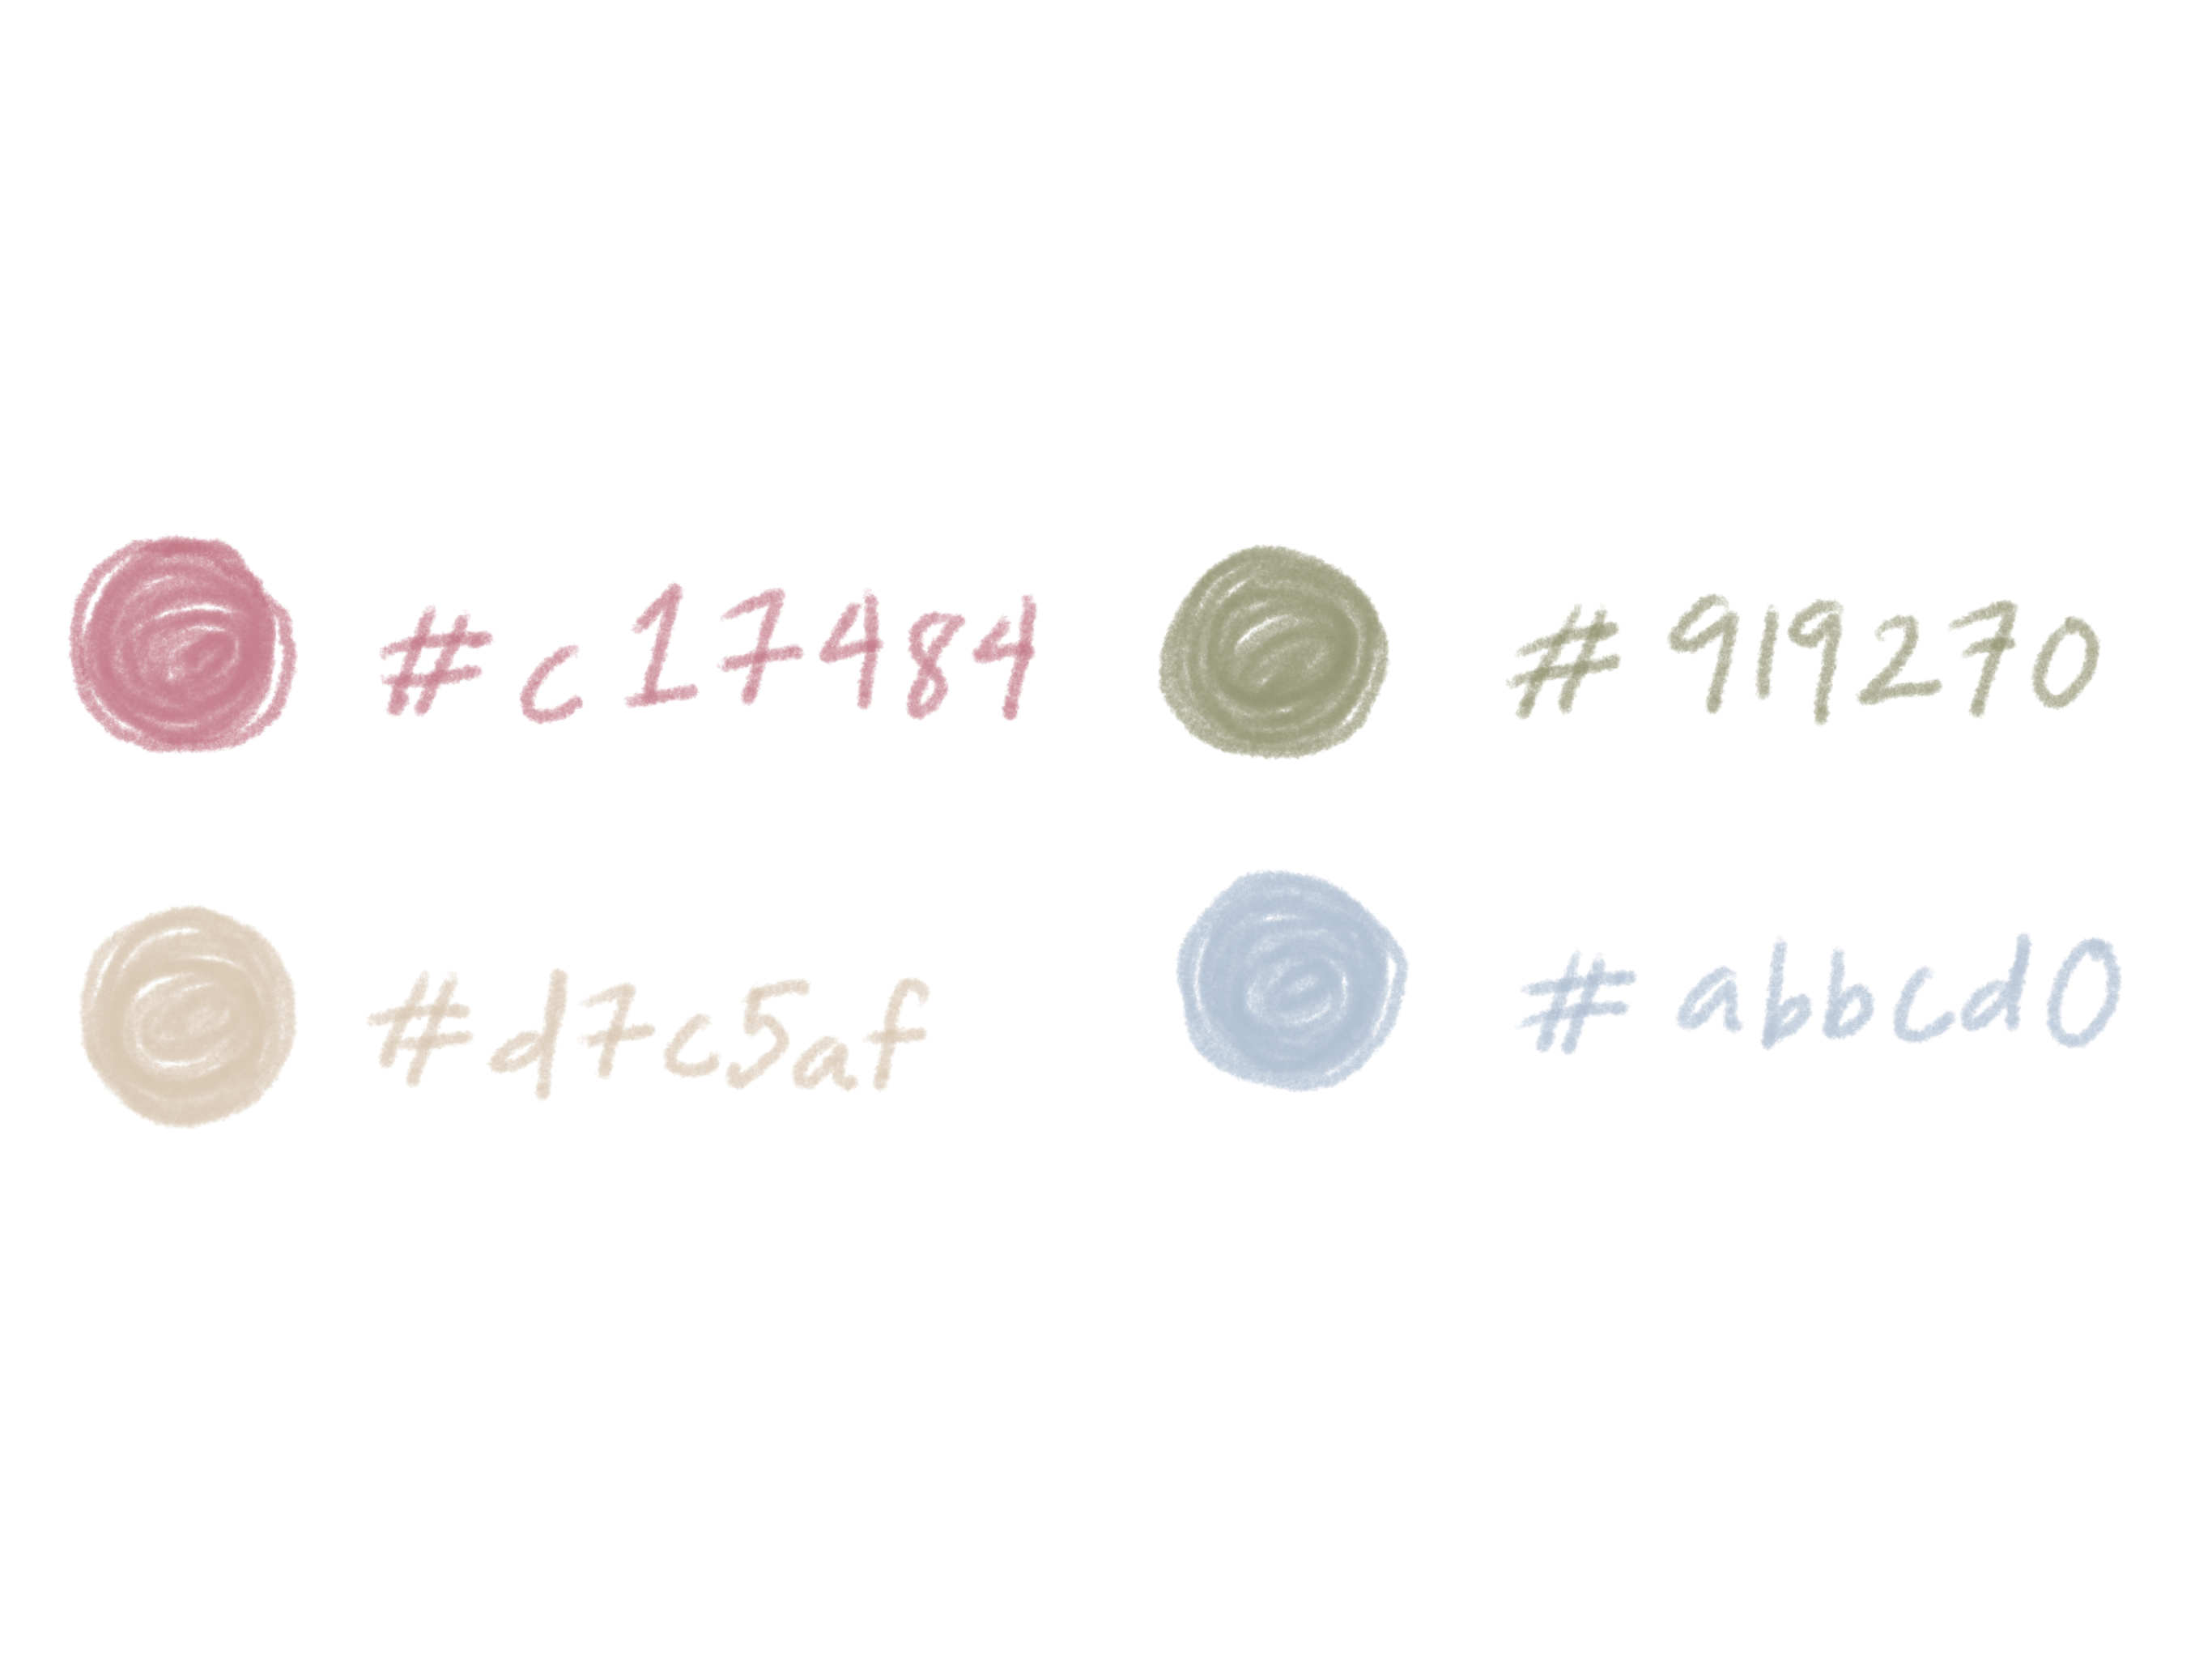
i mainly find my inspirations from pinterest and other shops i like to browse on. some terms i search for are 'beaded necklace', 'hand-made accessories' and 'bag charms'. i also like to take color palette inspirations from my everyday life! like these photos i took on a saturday afternoon while waiting for my donuts.
"sketching"
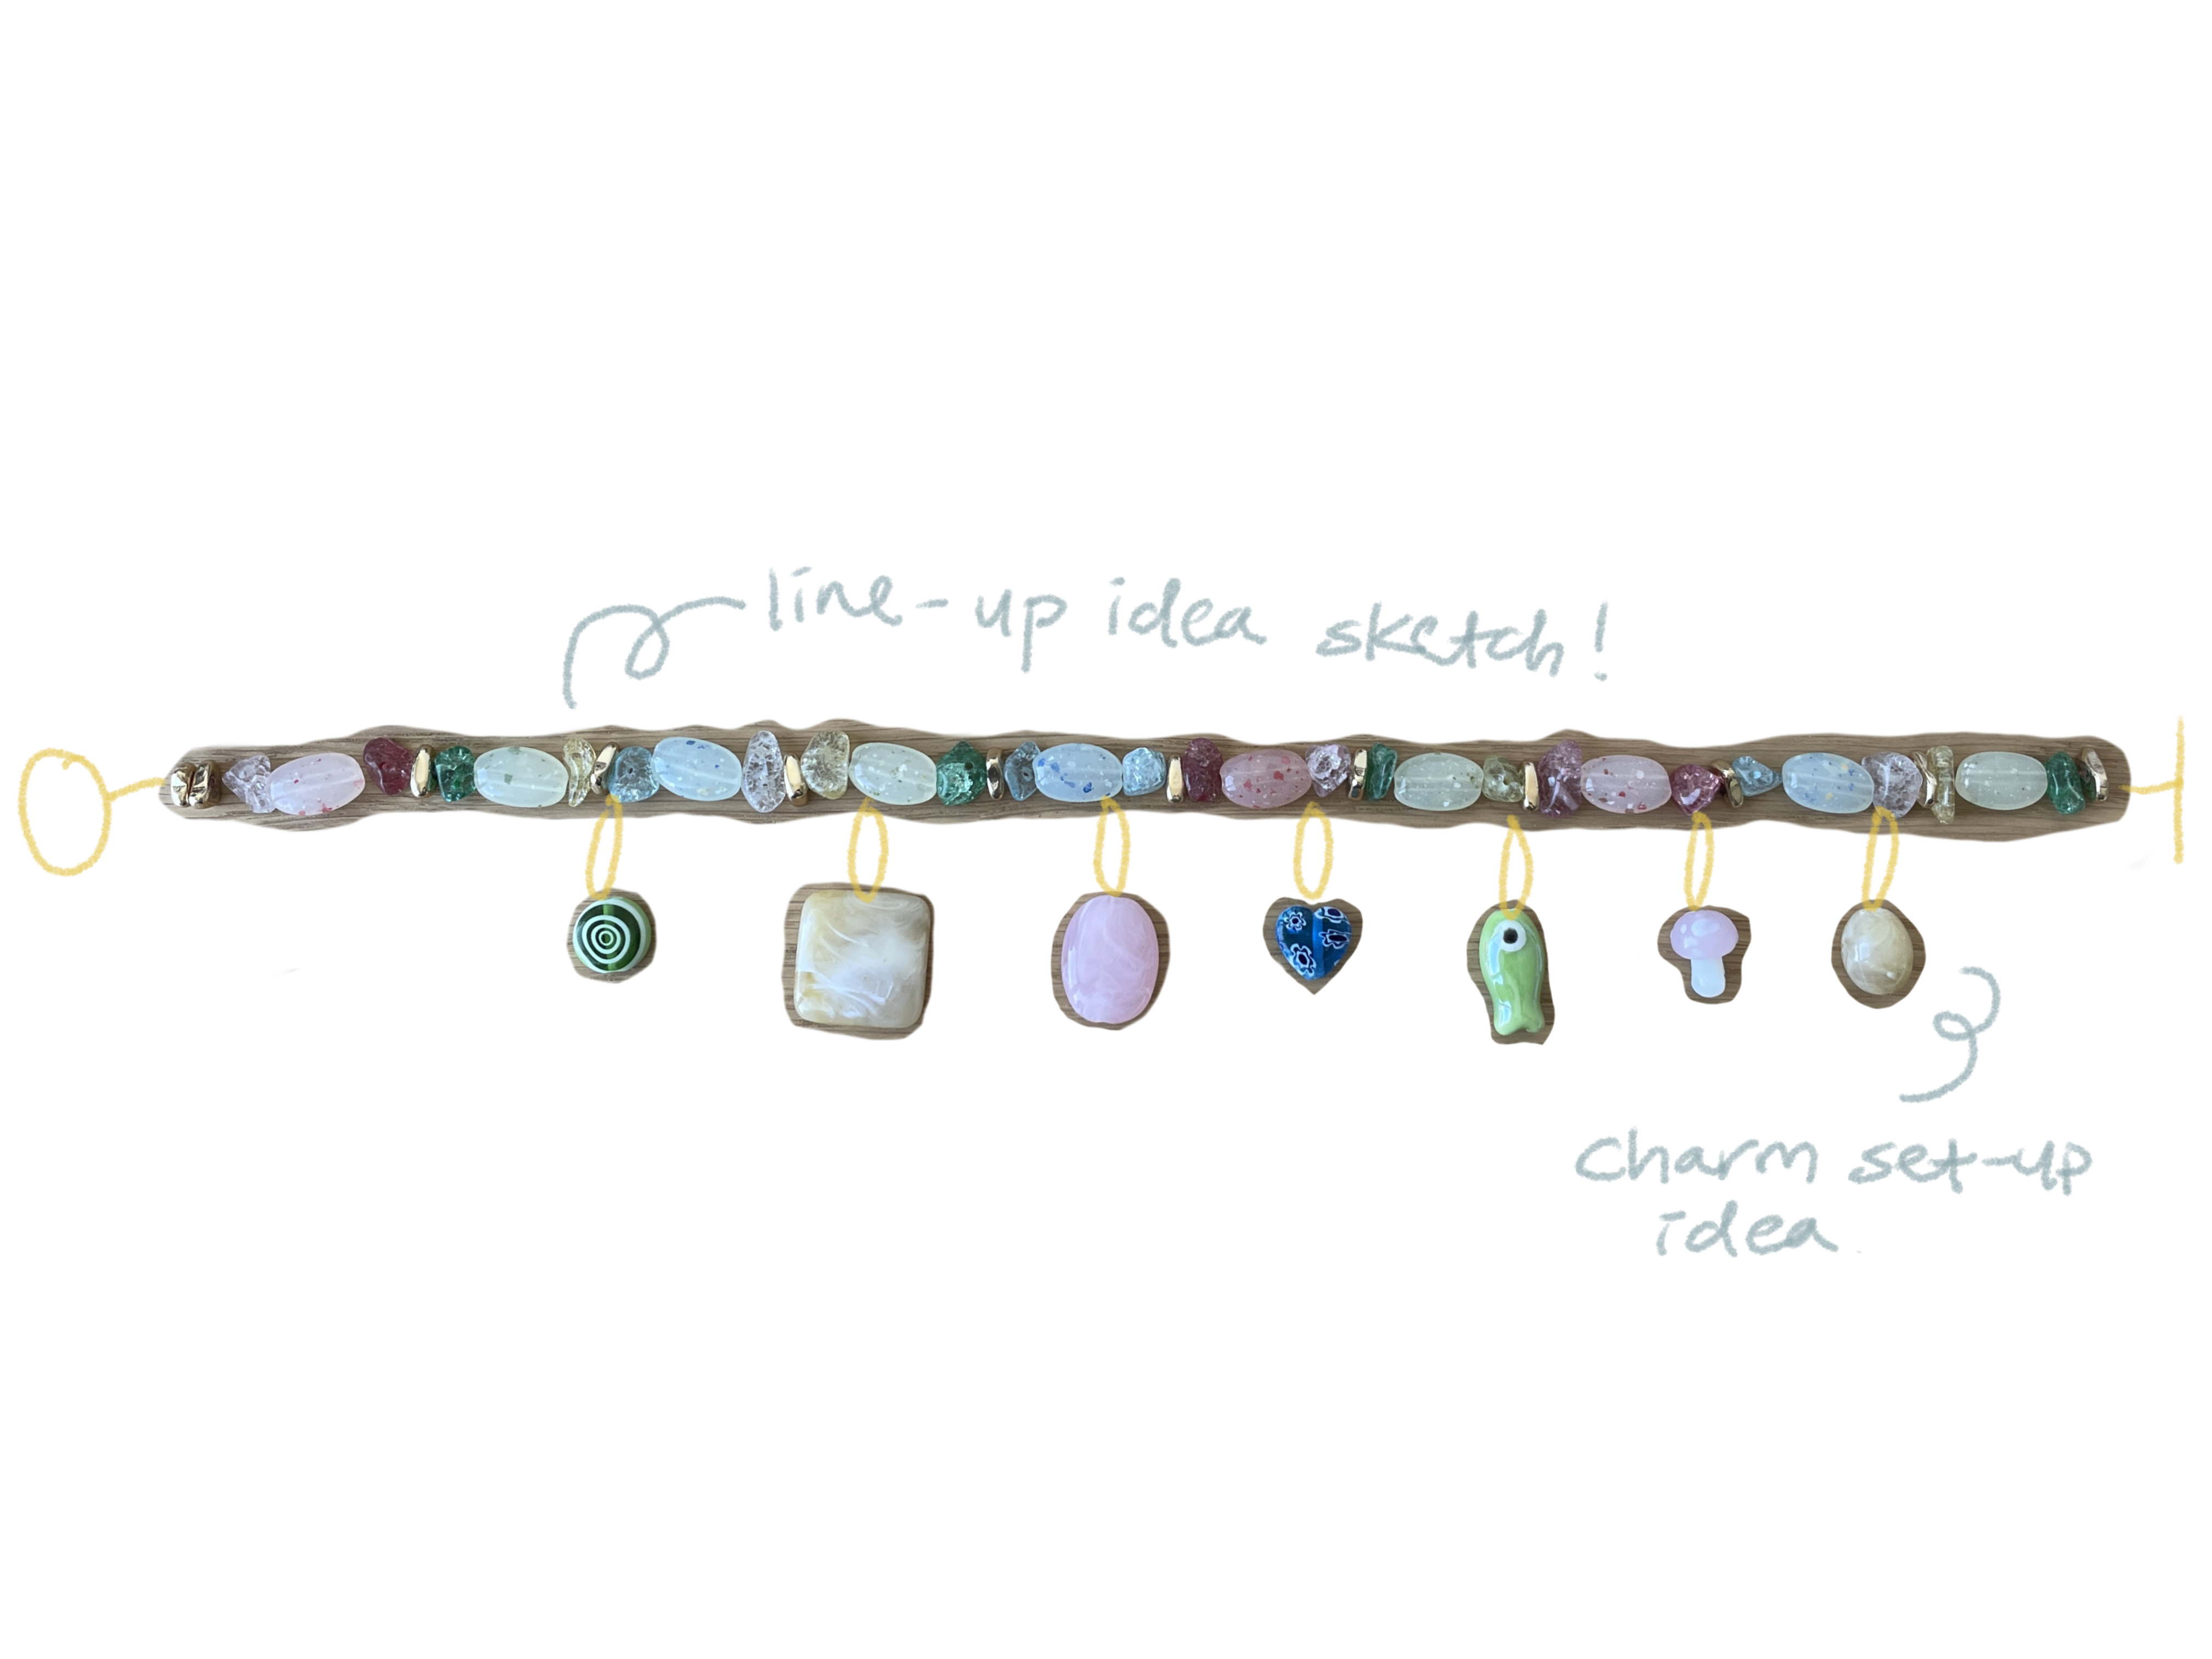
once i find my inspirations and color palettes, i color coordinate beads and put them in groups. then i start arranging them in an order i like and begin my design process! i would call this step 'sketching' but without a pen and a pencil. i work on my desk and move around beads to make sure i am happy with the design and order the beads are in.
begin creating!
once i come to a design i like, i take these steps to create a complete necklace!
- gather tools:
- stainless steel beading wire
- toggles for the ends
- chain and round nose pliers
- spacer beads for locking the ends
- head pins
- jump rings for charms
- and most importantly the beads!
- begin by looping the wire through the spacer bead into the hole on the toggle and back through the spacer bead.
- press close the spacer bead using the chain plier to lock in the wire.
- set the wire and toggle aside. grab the charms and loop the head pins through and using the round nose pliers, roll up the exposed head pin into a roll
- set the charms aside. thread the beads through the wire. make sure to check the length every now and then with a ruler!
- after 5 inches in, add on charm per inch
- once the length of the necklace is at 16 inches, repeat the second step: add last spacer bead followed by the other end of the toggle and then loop the wire back through the spacer bead.
- lock the necklace in by pressing close the spacer bead with the chain plier
- done!

what's next?
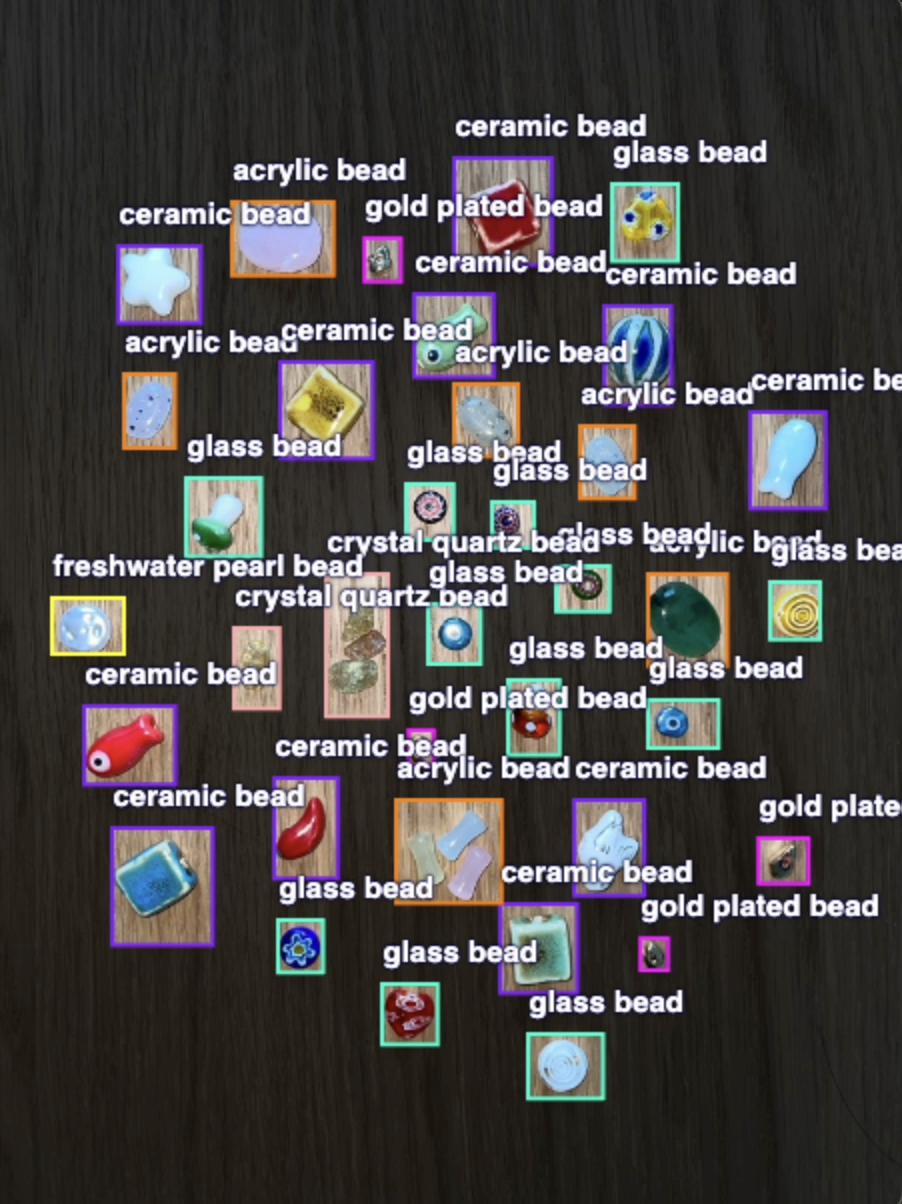
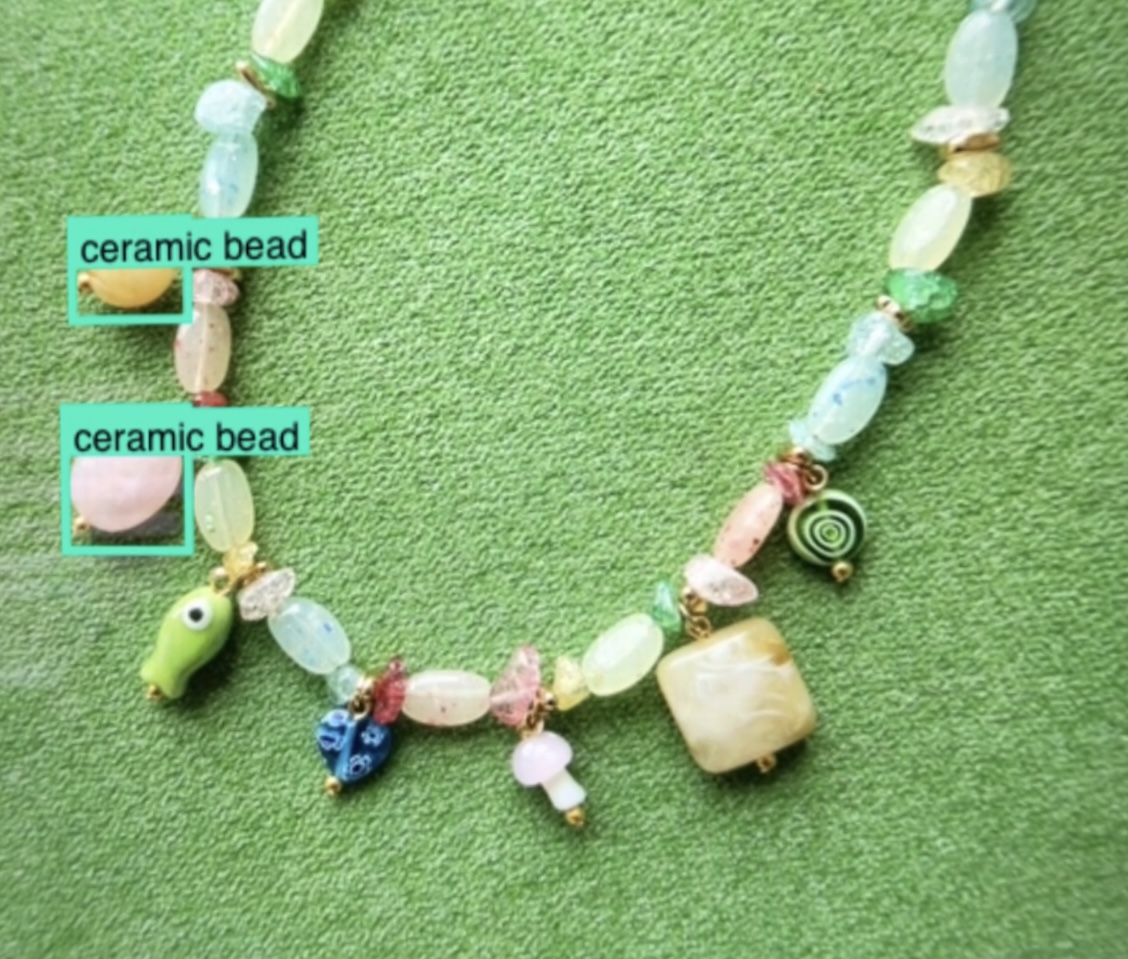
once i finish creating the necklace i make sure the product is well made, add the logo charm and begin taking product photos! once i get enough photos i like, i post them on MSOH's instagram as well as the website. when uploading product images to the website, i use help from roboflow to quickly identify the beads i used and list them on the product details.

product details
- 16 inches
- porcelain mushroom bead
- ceramic fish charm
- acrylic beads
- lampworked glass beads
- stainless steel golden toggle
- handle with care!
thank you!
hope you enjoyed the blog ☺
